Introduction
A social media scheduler helps you write and prepare posts now, then publish them later—so you can automate Instagram posts instead of posting in a rush every day. The biggest benefit is simple: fewer daily decisions. You plan once, schedule once, and your content still shows up on time.
This beginner-friendly guide shows you a weekly system that works on a phone or computer: set up your account the right way, choose a tool that fits your needs, batch content, use queue times, and improve your timing with Instagram Insights. You’ll also learn quick fixes for common issues like failed publishing, reminder-only scheduling, and wrong time zones.
Last updated: 2026.
Social Media Scheduler Basics: What It Does (and What It Doesn’t)
Direct answer: A social media scheduler is a tool that lets you plan content and publish it later—either automatically or with a reminder.
Main features you’ll usually see
A good scheduler often includes:
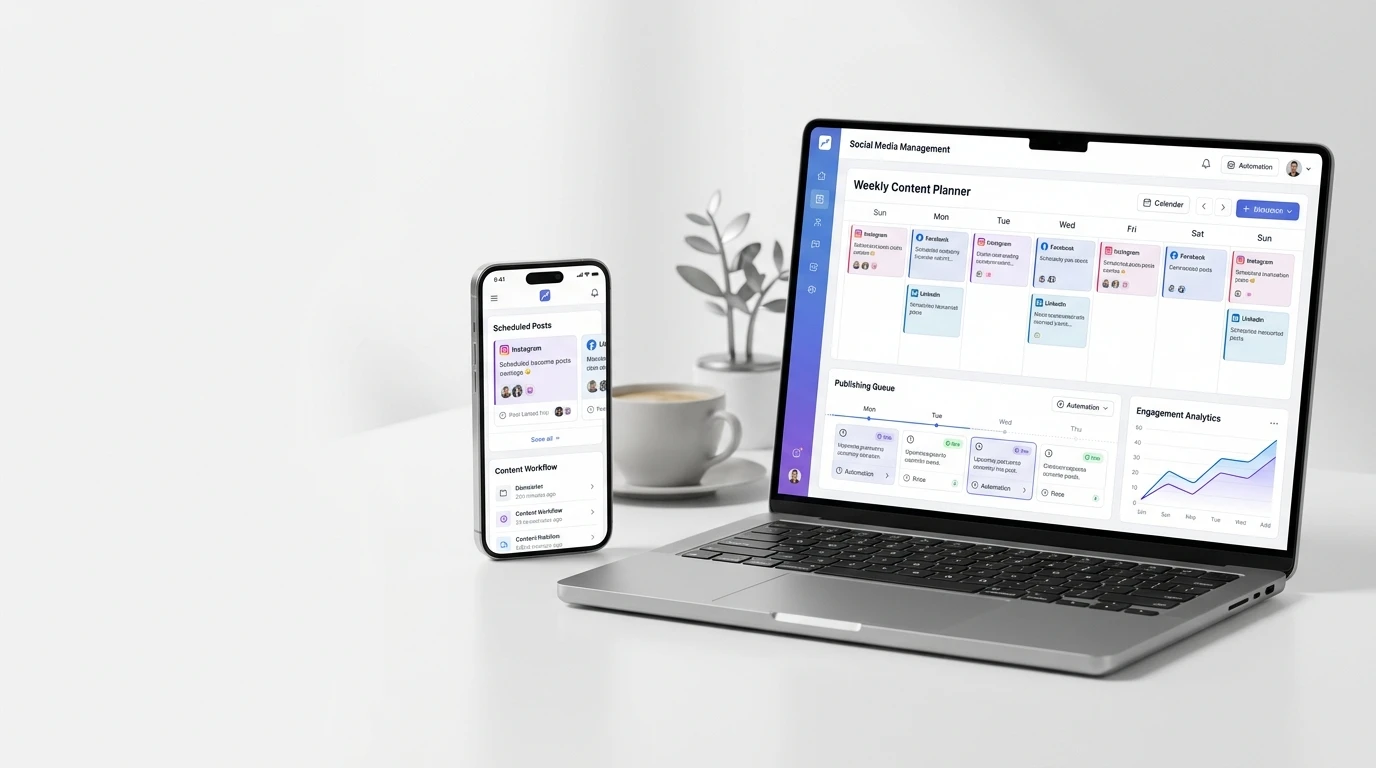
- Calendar view to plan posts by day/week
- Post scheduling (pick date and time)
- Queue times (repeating time slots you reuse weekly)
- Drafts (save unfinished posts)
- Media library (store images/videos, in some tools)
- Basic analytics (simple performance tracking)
Benefits (why beginners love it)
A scheduler helps you:
- stay consistent even when you’re busy
- avoid last-minute caption writing
- batch work into one focused session
- post at better times (after you check Insights)
Limitations (keep expectations real)
A scheduler does not:
- guarantee reach or followers
- replace real engagement (comments/DMs still matter)
- safely “auto-like” or “auto-comment” (avoid those tools)
Auto-publish vs reminder posting (important)
Most tools use one of these:
- Auto-publish: the tool posts for you.
- Reminder: the tool reminds you to post, and you finish it manually.
Practical example: You schedule a post for 7 PM.
- Auto-publish: it goes live even if you’re in class.
- Reminder: you still need to open Instagram at 7 PM.
Tip: If saving time is your goal, pick a tool that supports auto-publishing for the post types you use most.
Common mistake: Assuming “scheduled” always means “auto-posted.”
Expert advice: Schedule one test post first. Don’t schedule 10 posts until you know your setup works.
Why Manual Posting Hurts Your Social Media Workflow
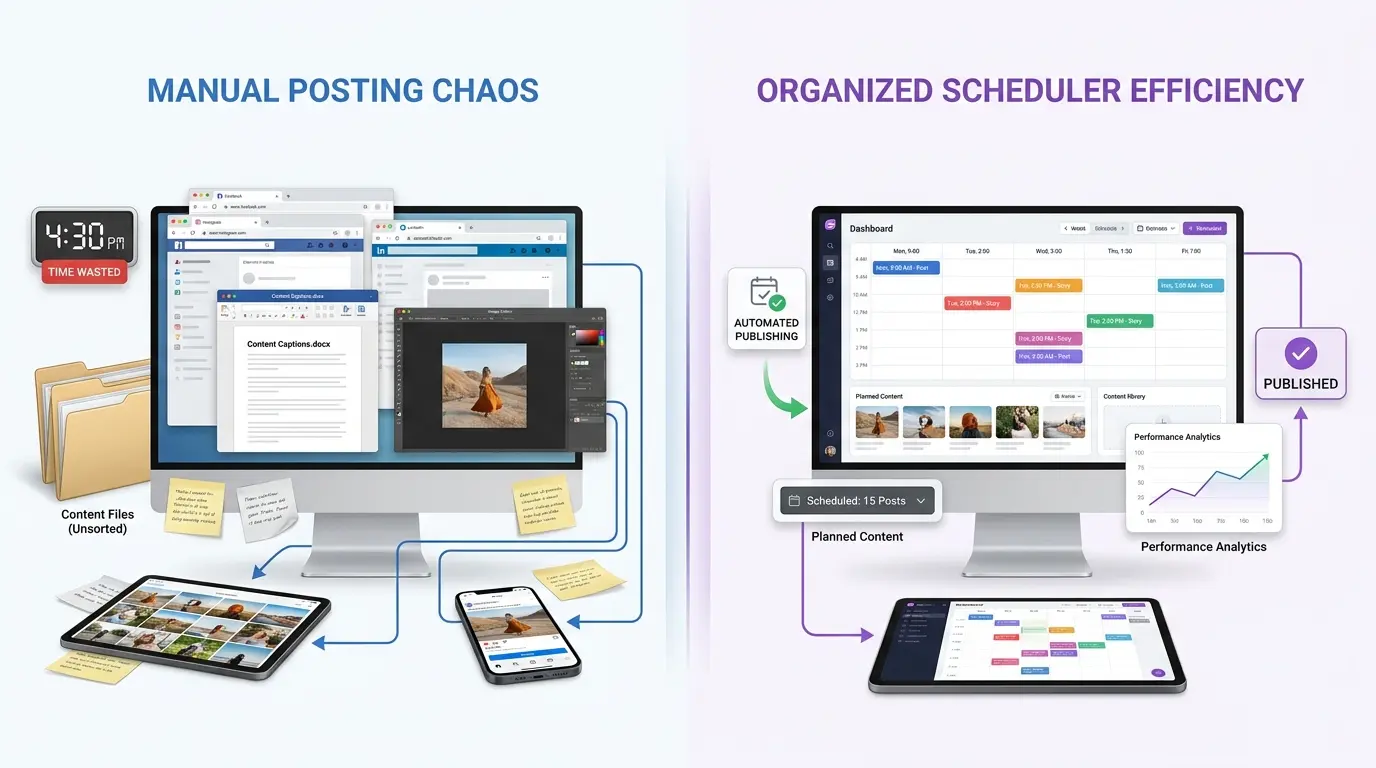
Direct answer: Manual posting wastes time because you repeat small tasks daily and you post when you remember—not when your audience is active.
The hidden time leaks
Manual posting usually means:
- switching apps (Canva → Notes → Instagram)
- rewriting captions at the last second
- hunting for hashtags again and again
- posting late because life happened
Real scenario: You wanted to post at 6 PM, but you got busy and posted at 10 PM. Your audience may not even be online at that time.
Practical example: the “quick post” that isn’t quick
One post often becomes:
- 10 min: find/edit content
- 10 min: caption + hashtags
- 5 min: upload + formatting
- 5 min: second-guess timing
That’s ~30 minutes per post. Over a week, it adds up fast.
Tips to fix this (without doing more work)
- Post 3–5 times per week, not daily, at the start
- Batch captions first (writing is usually the slowest part)
- Use a scheduler so posting becomes a weekly task, not a daily stress
Common mistake: Posting daily for 2 weeks, then disappearing for a month.
Expert advice: Consistency that you can maintain is more powerful than “daily posting” that burns you out.
Requirements: What You Need Before You Automate Instagram Posts
Direct answer: To automate Instagram posts smoothly, you usually need a professional account, correct Meta connections (often), and proper permissions.
Requirements checklist
- Instagram Creator or Business account
- A scheduling tool that supports Instagram publishing
- (Often) Instagram linked to a Facebook Page (for Meta-based publishing)
- Correct access/permissions (especially if a Page is involved)
- Stable internet while uploading media
Step-by-step setup (beginner-friendly)
- Switch to a Professional account
- Instagram → Settings → Account → Switch to professional account
- Choose Creator (individual) or Business (brand/shop)
- Check Meta/Facebook connection (common requirement)
- Some tools need your IG connected to a Facebook Page to publish correctly.
- Confirm permissions
- If someone else owns the Facebook Page, you might not have permission to publish.
Quick troubleshooting if your account won’t connect
Try this order:
- Confirm IG is Creator/Business
- Disconnect and reconnect Instagram inside the scheduler
- Log out and log in again (Facebook + Instagram)
- Approve security prompts (2FA can block access)
- Schedule a test post for 10 minutes later
Safety tips (don’t skip)
- Avoid tools that ask for your Instagram password directly
- Prefer tools using official sign-in/permissions (OAuth)
- Turn on 2-factor authentication (2FA)
Choosing the Right Social Media Scheduler (Features, Pricing, UX, Limits)
Direct answer: The best social media scheduler is the one that fits your weekly routine. Free tools can be enough early on. Paid tools make sense when you need stronger planning, visuals, or team features.
What to compare (simple)
Look for:
- Auto-publish support (vs reminder-only)
- Queue times (big time saver)
- Calendar view and previews
- Analytics (basic is fine)
- Official, secure account connections
- Easy mobile + desktop experience
Tool comparison table (quick view)
| Tool | Best for | Main benefits | Limitations | Pricing (general) |
| Meta Business Suite | IG + Facebook | Official tool, reliable basics | Limited beyond Meta platforms | Generally free |
| Buffer | Simple multi-platform | Queue times, clean UX | Less IG-grid focused | Free + paid plans (varies) |
| Later | Instagram-first planning | Visual planner, batching friendly | Many features are paid | Paid plans/trial (varies) |
| Hootsuite | Teams & monitoring | Approvals + multi-account workflows | Often expensive/complex | Paid plans (varies) |
Pricing changes often. For exact prices, check each tool’s official pricing page.
Who should use what (fast rules)
- Only Instagram + Facebook → Meta Business Suite
- Want simple queue times + multiple platforms → Buffer
- Care a lot about IG grid visuals → Later
- Need approvals and many accounts → Hootsuite
Common mistake: Buying an advanced tool and then not using it because it feels too complex.
Expert advice: Start simple. Upgrade only when your workflow demands it.
Step-by-Step: How to Automate Instagram Posts With a Social Media Scheduler
Direct answer: You can automate Instagram posts by planning a simple content calendar, batching your content, setting queue times, and scheduling everything in your social media scheduler in one focused session.
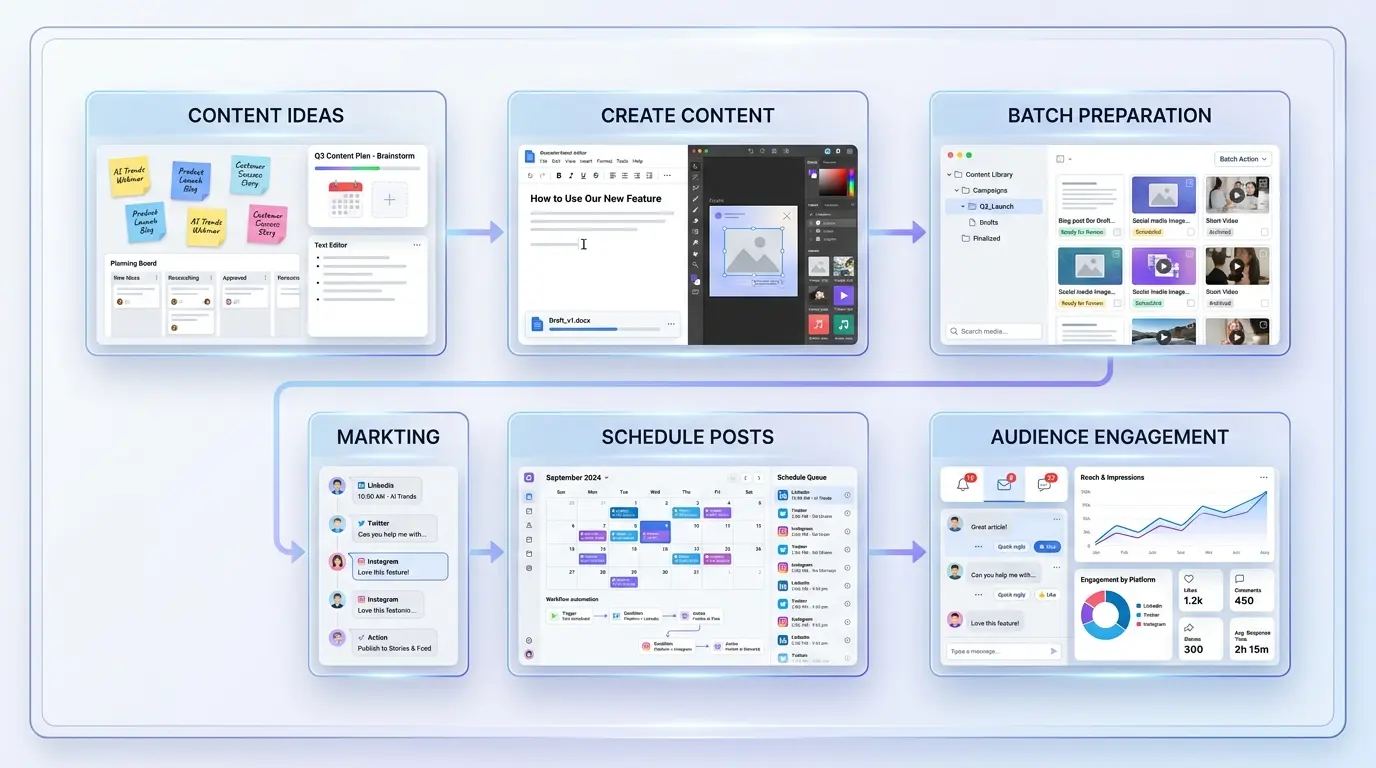
Step 1: Build a simple content calendar (copy this)
Start with repeatable post types so you don’t think from zero every day.
Example 5-post week
- Mon: Tip / how-to
- Wed: Carousel checklist (saveable)
- Fri: Tool/app recommendation
- Sat: Behind the scenes
- Sun: FAQ or question post
Practical examples (tech/app page)
- “How to clear cache on Android (fast)”
- “5 phone settings to turn off for better battery”
- “Best free PDF scanner apps: pros and cons”
- “My weekly social media workflow in 30 minutes”
- “Comment your biggest phone issue—I’ll make a tutorial”
Tips
- Keep each post to one main idea.
- Repeat the same structure weekly and change only the topic/example.
Common mistakes
- Planning too many formats that take too long to create.
- Posting only promotions (people stop engaging).
Expert advice
If you’re stuck, ask: “What problem can I help someone solve in 30 seconds?”
Step 2: Use content batching (this is where the time savings come from)
Direct answer: Content batching saves time because you do similar tasks together instead of switching back and forth all week.
Beginner batching plan (2–3 hours)
- Ideas (15–20 min): list 10 post ideas
- Hooks (10–15 min): write the first line for 5–7 posts
- Captions (30–45 min): finish captions + CTA
- Visuals (60–90 min): Canva designs or Reel edits
- Scheduling (20–30 min): upload and schedule in your social media scheduler
Practical example
- Write all captions in one Google Doc first.
- Then copy/paste into your scheduler while uploading media.
This reduces typos and keeps your tone consistent.
Tips
- Create 3–5 reusable Canva templates.
- Keep a small “caption bank”:
- hooks you like
- CTAs (“Save this”, “Share this”, “Comment ‘guide’”)
- short disclaimer lines (if you review apps)
Common mistakes
- Spending an hour perfecting one post and then running out of time.
- Creating content one-by-one and posting instantly (you never get ahead).
Expert advice
Your first goal is a system you can repeat weekly. Perfect can come later.
Step 3: Set queue times (your weekly social schedules)
Direct answer: Queue times are repeating posting slots. You set them once, then your posts fill those slots automatically.
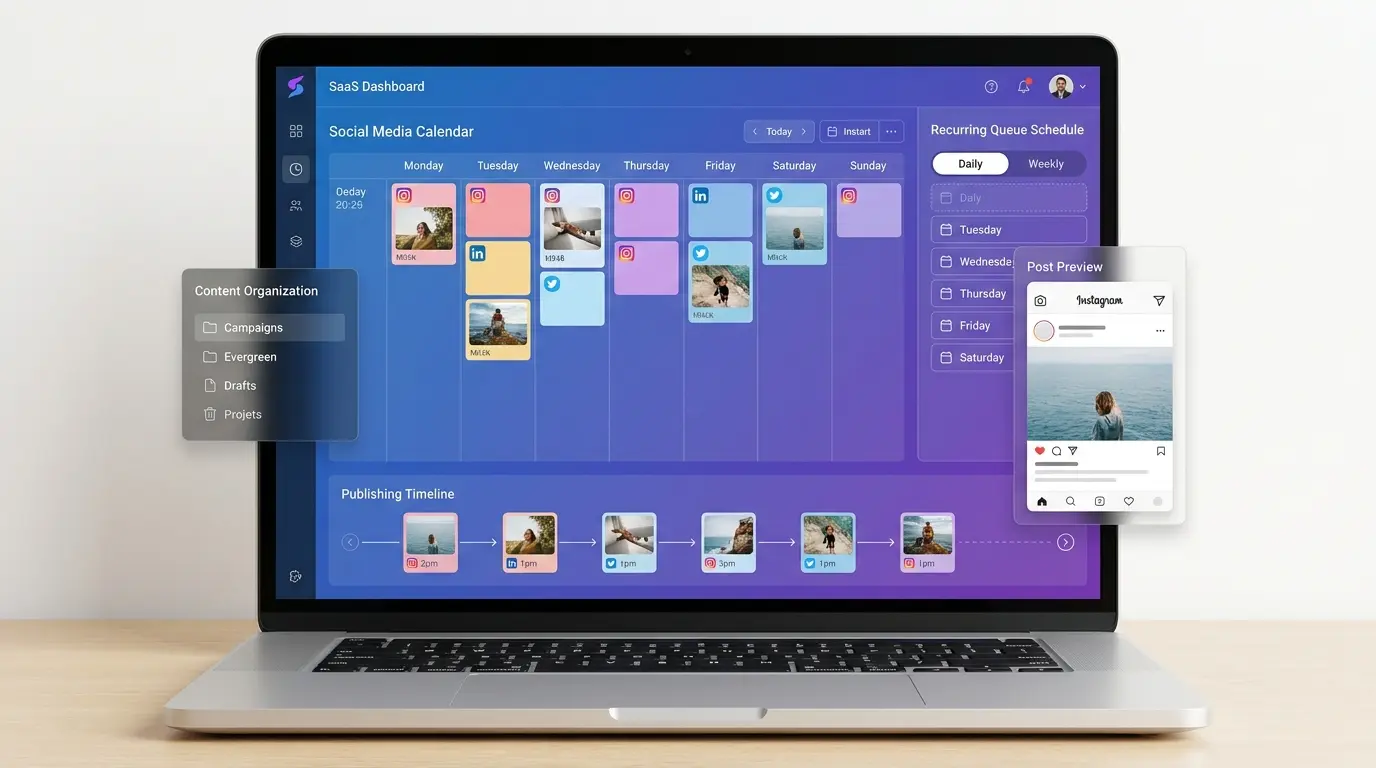
Beginner queue example
- Tue 12 PM
- Thu 6 PM
- Sun 11 AM
Queue vs fixed scheduling (simple)
- Queue: best for normal weekly posts and consistency
- Fixed time: best for launches, events, or time-sensitive announcements
Tips
- Pick times when you can reply to comments soon after posting.
- Keep the same queue times for two weeks before changing anything.
Common mistakes
- Changing posting times every week (you can’t learn what works).
- Scheduling at times when you’re always busy (you miss early engagement).
Expert advice
Good timing is not just “when followers are online.” It’s also when you can show up.
Step 4: Upload and schedule (Instagram-ready checklist)
Direct answer: A simple checklist prevents most publishing errors and improves post quality before it goes live.
Checklist before you hit “Schedule”
- Hook is clear in the first line
- Caption is easy to scan (short lines)
- CTA is simple (save/share/comment)
- Hashtags match the topic (avoid random trending tags)
- Visual is readable (big text, good contrast)
- Video exports cleanly (MP4 is a safe test format)
Tips
- Schedule 7–14 days ahead first. Don’t jump to 60 days right away.
- If your tool offers preview, always preview once before confirming.
Common mistakes
- Forgetting to proofread the hook (your most important line).
- Uploading a huge or broken video file.
Expert advice
Schedule one test post for each format you depend on (post, carousel, Reel). Don’t assume everything auto-publishes the same way.
Step 5: Quick-start scheduling steps (pick your tool)
These steps stay similar even if the app buttons move after updates.
Meta Business Suite (free)
- Connect Instagram + Facebook Page
- Open Planner/Calendar
- Create post → add media/caption
- Choose Schedule → confirm
Buffer
- Connect Instagram
- Set queue times
- Create post → add to queue
- Preview → schedule
Later
- Connect Instagram
- Upload media to library
- Drag into calendar
- Add caption/hashtags → schedule
Tip
Whichever tool you choose, do one “test post” first—then schedule your whole week.
Best Day to Post on Instagram: Use Instagram Insights (Not Guesswork)
Direct answer: The best day to post on Instagram is when your followers are most active, and Instagram Insights can show you the exact days and hours.
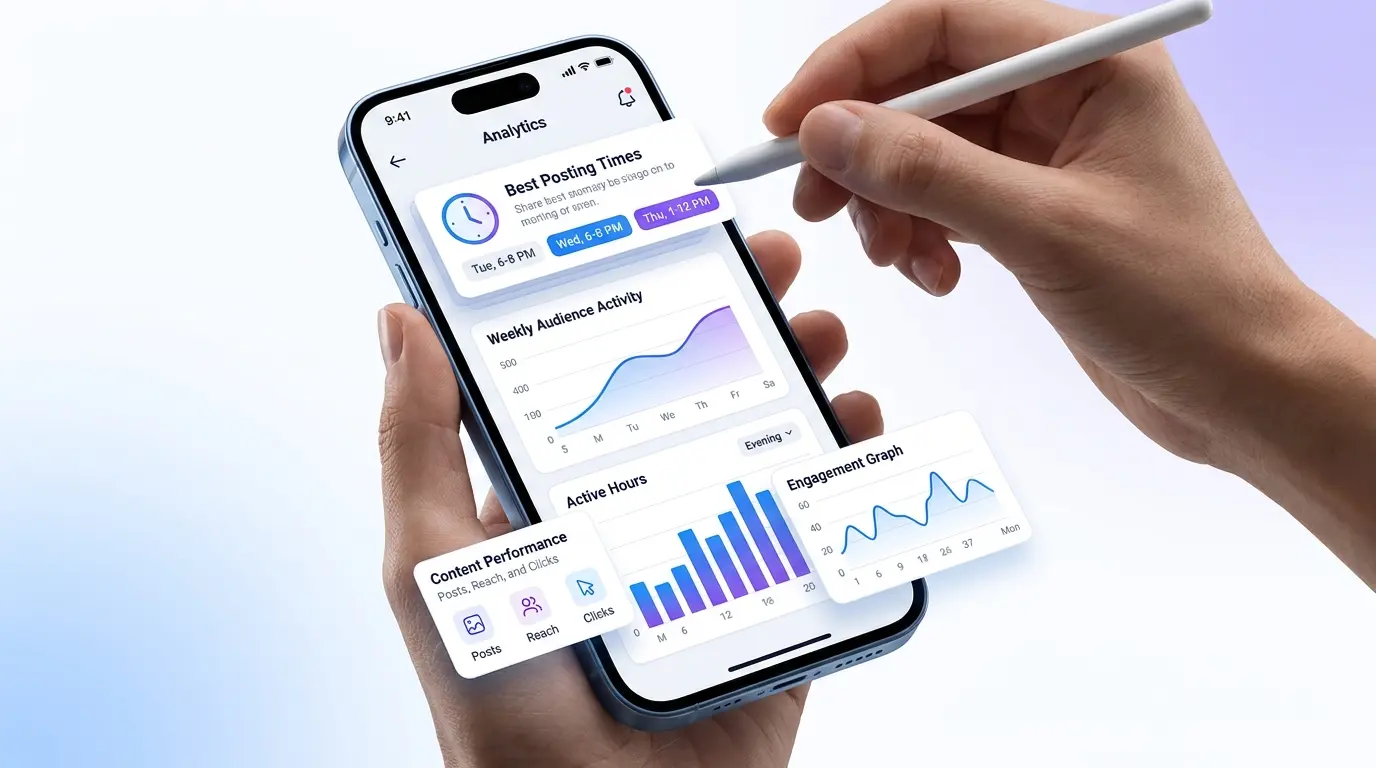
Step-by-step: find your best day/time
- Instagram → Professional dashboard
- Tap Insights
- Open Audience / Total followers
- Check:
- Most active days
- Most active times
What metrics matter most (beginner-friendly)
Focus on:
- Reach (how many people saw it)
- Saves (people want it later)
- Shares (people send it to others)
- Comments (conversation)
2-week testing plan (simple and fair)
- Pick 3 time windows (example: 9 AM, 1 PM, 7 PM)
- Post similar content types at different times
- Track results for 2 weeks
- Keep the best 1–2 time slots as your queue times
Example test table
| Day | Week 1 | Week 2 |
| Tue | 9 AM | 1 PM |
| Thu | 1 PM | 7 PM |
| Sun | 7 PM | 9 AM |
Tips
- Keep the content type similar during the test (don’t test a Reel vs a carousel at the same time).
- Try to be online for 10 minutes after posting to reply quickly.
Common mistakes
- Copying generic “best day to post” charts from the internet.
- Changing timing + content type + hashtags all at once.
Expert advice
Use Insights as your starting point, then test small changes. That’s how you find your real best posting times.
Advanced Tips to Keep Your Social Schedule Easy (and Sustainable)
Direct answer: A sustainable workflow comes from content pillars, evergreen posts in your queue, and reusable assets—so your social schedule doesn’t feel heavy.
Tip 1: Use 3–5 content pillars (idea machine)
Tech/app pillar examples
- Tutorials
- Reviews (pros/cons)
- AI tools
- Troubleshooting
- Productivity shortcuts
Practical example
If your pillar is “Troubleshooting,” your weekly posts can be:
- “Instagram not uploading? Try these fixes.”
- “Phone storage full? Start here.”
Tips
- Keep pillars simple.
- Save post ideas under each pillar in a notes app.
Common mistakes
- Posting random topics that confuse your audience.
- Changing your niche every week.
Expert advice
When you repeat pillars, people learn what your page is about—and they follow because of that.
Tip 2: Mix evergreen + trends (don’t schedule yourself into a corner)
- Evergreen: useful anytime → perfect for queue times
- Trends/updates: time-sensitive → keep one slot open each week
Tip
Aim for 70–80% evergreen content and keep 20–30% flexible.
Common mistake
Scheduling every single slot for a whole month and leaving no room for timely posts.
Expert advice
Evergreen content builds steady growth. Trends bring short spikes of attention.
Tip 3: Build an asset library (small thing, huge payoff)
Save reusable items:
- Canva templates
- brand colors/fonts
- b-roll clips (short video clips you can reuse)
- hashtag sets by topic
- hooks and CTAs
Tip
Name files clearly (example: carousel-template-01, reel-broll-02) so you can find them fast.
Common mistake
Keeping everything in your camera roll with no system.
Expert advice
This library is what makes “batching” feel easy after the first few weeks.
Common Mistakes + Troubleshooting (Fast Fixes)
Direct answer: Most Instagram scheduling problems happen because of expired connections, missing permissions, wrong time zones, or media file issues—not because your social media scheduler is “bad.”
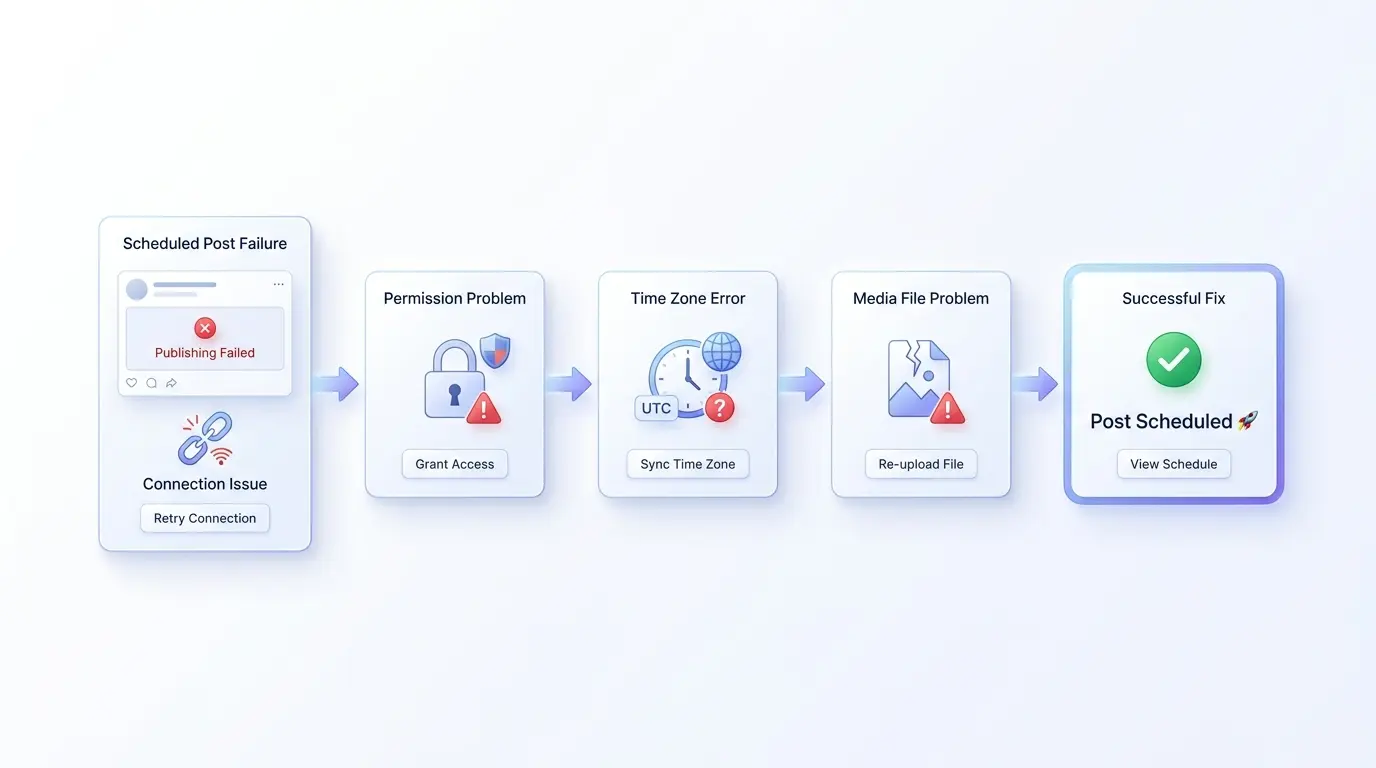
Quick troubleshooting table
| Problem | Likely cause | Fast fix |
| Scheduled post didn’t publish | Account connection expired | Reconnect Instagram inside the scheduler |
| Permission error | Wrong Page access/role | Confirm full access/admin permissions |
| Posted at the wrong time | Time zone mismatch | Fix time zone settings + schedule a test post |
| Only reminders happen | Auto-publish off/not supported | Enable auto-publish or switch post format |
| Upload fails | File too large/bad export | Re-export MP4, reduce size, retry |
Step-by-step: what to do when a post fails
- Check whether the post is set to auto-publish or reminder
- Reconnect Instagram in your scheduler (disconnect → reconnect)
- Confirm your Instagram account is Creator/Business
- Check your scheduler time zone (very common issue)
- Try posting the same media manually once (to confirm the file is fine)
- Schedule a test post 10 minutes ahead to confirm it’s fixed
Common mistakes (that cause avoidable failures)
- Scheduling a full week without testing one post first
- Changing passwords/permissions and not reconnecting the scheduler
- Uploading large videos on weak internet
- Forgetting that some post types may be reminder-only in certain tools
Safety tip (important)
Avoid tools that promise aggressive automation like auto-likes, auto-comments, or mass auto-DMs. Those behaviors can look spammy and may risk account issues.
Expert advice
After any big change (new phone, password reset, Page role changes), do one test scheduled post again. It takes 2 minutes and prevents surprises.
Expert Recommendations (Weekly Routine That Saves Time)
Direct answer: The most reliable way to save hours is a simple weekly routine: plan once, batch once, schedule once, then spend a few minutes daily on engagement.
A realistic weekly routine (beginner-friendly)
- Friday (15 minutes): choose next week’s 3–5 topics
- Saturday (60–90 minutes): batch captions + visuals
- Sunday (30 minutes): schedule everything in your social media scheduler
- Daily (10 minutes): reply to comments and DMs
What to automate vs what to keep human
Automate
- scheduling and queue times
- content calendar planning
- light cross-posting (with small edits)
Keep human
- replies to comments
- DMs and customer questions
- community conversations
Security and privacy checklist (quick)
- Turn on 2FA for Instagram
- Review connected apps and remove ones you don’t use
- Don’t share passwords with a team; use roles/access if available
- Use tools that connect with official permissions (OAuth)
FAQ Section (3–4 FAQs)
Can I automate Instagram posts for free with a social media scheduler?
Yes. Many beginners start with Meta Business Suite, which is generally free and supports Instagram and Facebook scheduling. Other tools may offer free plans too, but they often limit how many posts or accounts you can schedule. The best way to confirm is to schedule one test post first and see if it auto-publishes on your account.
Is it safe to use a social media scheduler for Instagram?
Usually yes, if the tool uses official login and permissions and does not ask for your Instagram password directly. Turn on two-factor authentication, review connected apps, and remove tools you no longer use. Avoid “growth automation” tools that auto-like or auto-comment because they can behave like spam and may put your account at risk.
Social media scheduler vs manual posting: which is better?
A social media scheduler is better for most beginners because it improves consistency and reduces daily stress. Manual posting can work, but many people post at random times or skip days when life gets busy. Scheduling doesn’t guarantee growth, but it gives you more time to improve content quality and reply to people—two things that matter more than manual posting.
Why did my scheduled Instagram post fail to publish?
This usually happens due to expired connections, permission changes, wrong time zone settings, or a media file issue. Reconnect Instagram in your scheduler, confirm your account is Creator/Business, verify auto-publish is enabled (not reminder), and check your time zone. If it’s a video, re-export it as MP4 and try again with a smaller file.
Conclusion
A social media scheduler helps you automate Instagram posts in a safe, repeatable way. The real win is the system: a simple content calendar, content batching, and queue times that run every week. When you use Instagram Insights, you stop guessing and start posting when your audience is actually active.
Quick start:
- choose a scheduler (Meta Business Suite is a strong free start)
- set 3 queue times
- schedule the next 7 days
- review Insights after 2 weeks and adjust